
Providing quality parts and repair solutions,
so you can focus on what matters most.
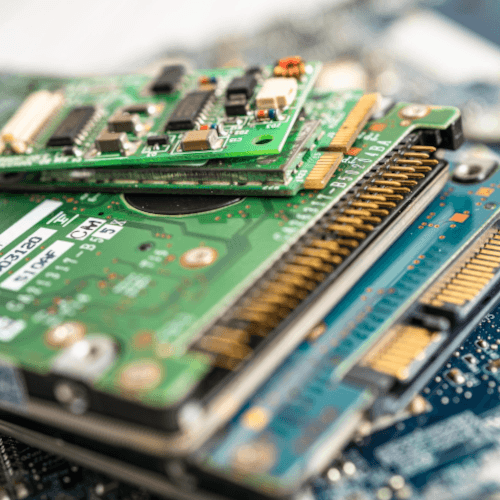

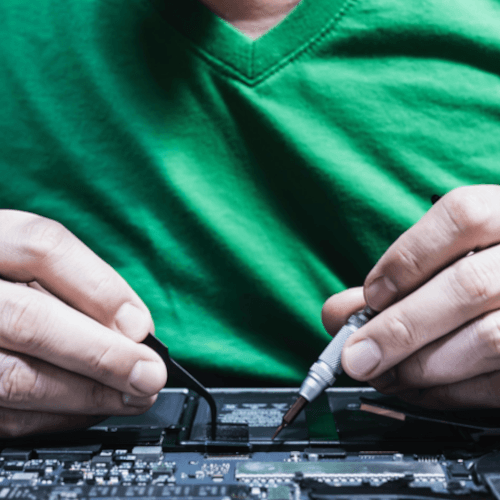


At MicroReplay, we understand the critical role technology plays in education. With over 20 years of experience, we specialize in sustainability providing the parts and repairs you need to keep your devices in service, freeing up time to devote to student success.


MicroReplay, Inc.
6A Dunham Road
Billerica, MA 01821
sales@microreplay.com
(978) 262-1340
We have a really good longstanding relationship with MicroReplay they understand our needs and are easy to work with
Having knowledgeable people getting answers to my questions and responding in a timely fashion is very important to me. I know I can get them working on an order while the PO is in progress and that works really well for me.
They just make it easy. There is way too much stuff to do and I don't have time...


MicroReplay, Inc.
6A Dunham Road
Billerica, MA 01821
info@microreplay.com
(978) 262-1340